Tips for management of tomographic data sets
The guidelines sketched here are a walkthrough on how we organize our tomographic data sets in the BioEM lab of the University of Basel.
We use a series of conventions for the storage of the raw data (i.e.) tilt series, in order to make easy to keep track on the processing steps already performed (alignment, reconstruction), the location of the intermediate results, and their binding into a Dynamo catalogue. The idea is to keep and uniform naming convention that allows to comfortably locate the sought files and folders with simple Linux commands.
In this example, we assume that you are using imod for tomographic alignment and reconstruction of each tilt series. The raw data is stored in a tree below a repository folder, which will contain all the data (tilt series and tomograms) related to the tomography projects. The repository folder is created with the structure:
<repository>/data
<repository>/ctf
Here, <repository> is some location in your file system, probably a file share destined for massive storage (at least Tbs). We often call this location 'repository' (literally).
Organizing the tilt series stacks
Batches
We organize our tilt series in batches. Each batch represents customarily tilt series acquired in the same conditions or in the same session, but there is no strict rule. Each batch will have its own folder under the data repository folder. The convention for the batch folder is a 'b' character followed with an integer (zero-padded to three figures).
<repository>/data/b001
<repository>/data/b002
<repository>/data/b015
...
Note that the batch numbers don't need to be consecutive.
Tilt series folder
Inside each batch folder we create a separate folder for each tilt series. The convention for the batch folder is a 'ts' character followed with an integer (zero-padded to three figures), for instance
<repository>/data/b001/ts012
<repository>/data/b001/ts016
...
Inside each tilt series folder we typically define the folders raw and imod
<repository>/data/bXXX/tsYYY/raw
<repository>/data/bXXX/tsYYY/imod
The contents of the raw folder may vary from project to project. They might be unaligned movies, gain reference files, or any intermediate files. Our acquisition system Focus delivers for each tilt series:
- a tilt series file, i.e., a stack file in mrc format (and .mcrs extension).
- a metadata file .star file.
- a .tlt file with the values of the tilt angles of each micrograph contained in the stack.
When we use Imod for reconstruction, we immediately transfer the stack to the imod folder. By convention we keep the batch and tilt series numbers and change the extension to .st
<repository>/data/b002/ts013/imod/b002ts013.st
Creating the reconstructions
After using etomo in the folder that contains the tilt series, you should end up with a full sized tomogram in the corresponding imod folder. We name this tomogram bXXXtsYYYFull.mrc <repository>/data/b002/ts013/imod/b002ts013Full.mrc
Reconstruction Post processing
Importantly, we usually want to have tomograms in which z represents the direction of the electron beam and y represents the direction of the tilt axis. This usually require flipping the tomogram. You can do it already in the etomo GUI, or with the imod command line, or with Dynamo commands or later in the Dynamo GUI.
In this walkthrough, let's assume that the files
<repository>/data/bYYY/tsYYY/imod/bXXXtsYYYFull.mrc
have already been flipped before entering them into the Dynamo catalogue that we will generate later.
Creating a catalogue
With the convention that we have used so far, you can use in Linux the order
ls -d <repository>/data/b*/ts*/imod/*Full.rec
to list into the screen your available tomograms, each with its absolute path.
Then, in order to create a catalogue you just need to create a text file with them
ls -d <repository>/data/b*/ts*/imod/*Full.rec >> list.vll
The list.vll we just created is the most basic syntax of a volume list file, but we can already use it to generate a catalogue of tomograms. Inside Matlab (or the standalone), just type
dcm -create myCatalogue -fromvll list.vll
and a catalogue will be generated in the current location.
You can open it inside Matlab/Dynamo with
dcm -c myCatalogue
Prebinning of catalogued tomograms
The tomograms are now linked to the catalogue. They are however too big to work with them comfortably. They take a long time to be read, and then they consume a lot of memory. We thus always Prebinned tomograms, usually with a factor of two. Thus, tomograms with size 4k x 4k x 1k will be visualized through a precomputed proxy with a size of 1k x 1k x 250 pixels.
The full procedure takes typically some minutes per tomogram.
The proxy tomograms are stored as files with name bXXXtsYYYFull_CatBinned2.mrc. You don't need to keep track of them. Whenever you select the original full size tomogram for visualization purposes, Dynamo will check for the presence of a prebinned one and offer to open it instead.
Visualizing the tomogram set
In principle you're ready to go and could open a single tomogram to start creating annotations. Remember however that the dcm GUI includes a couple of tools for quickly checking all the tomograms in a catalogue.
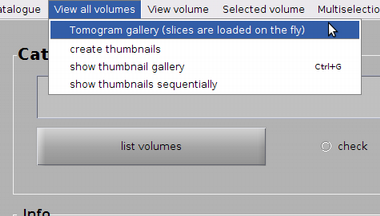
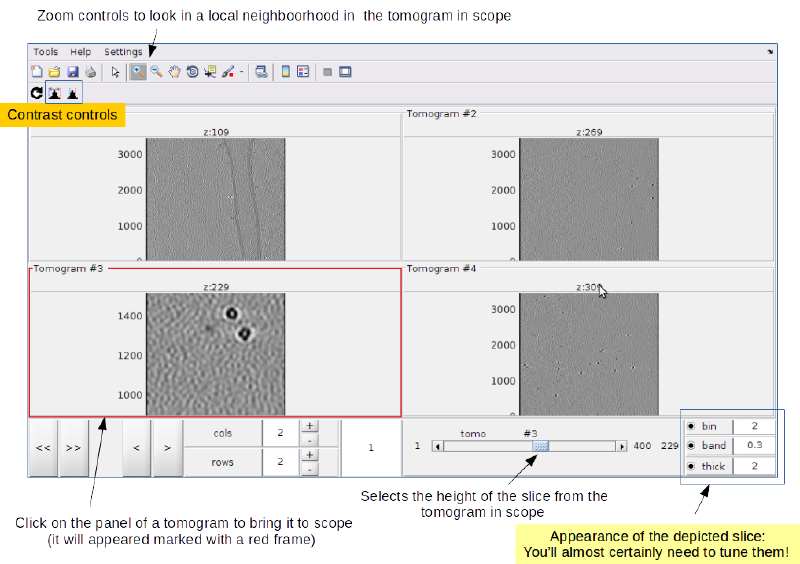
Live gallery of tomograms
The live gallery shows one projection of several slices from each of the tomograms. The slices are read on the fly,i.e., only the part of the tomogram needed for creating the depicted scene will be read.
After opening the live gallery you are most likely to need to adjust depiction parameters as binning level, bandpass or number of projected slices per tomogram.
Thumbnails
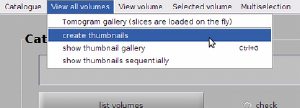
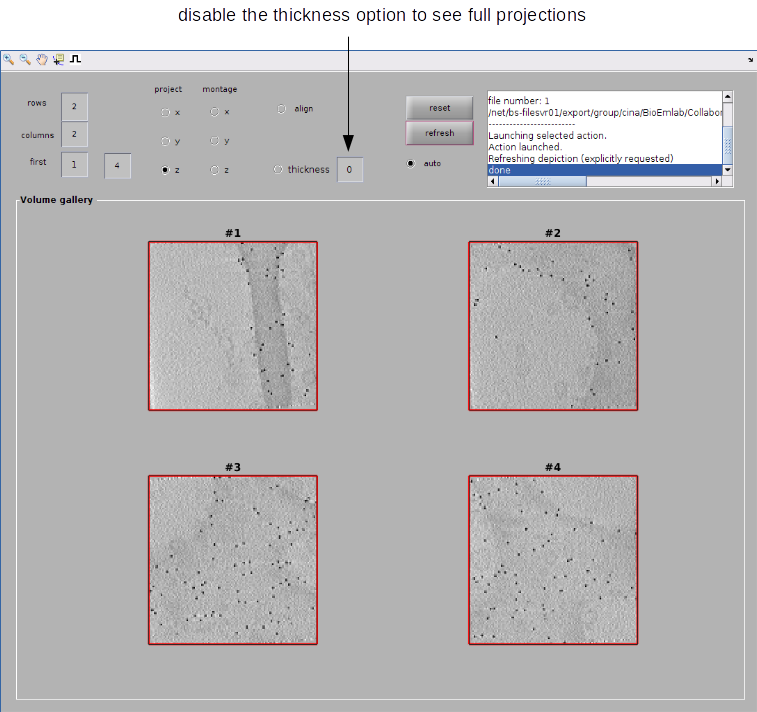
Thumbnails are very binned versions of the original tomograms (sidelengths around 64 pixels!), useful to get a quick view of the contents of each them. As they are very small, they can be generated once and then brought into memory as needed.
In order to create them, it's convenient to have already ran the prebinning procedure (as Dynamo can then work directly on the prebinned versions, and the creation of the thumbnail tomograms will then take just a few seconds)
Accessing each tomogram
Check on the fly
dtmshow can be invoked to quickly check on the fly the content of the tomogram. You may need to change the bandpass, binning and contrast options.
Ready to work
When you are ready to start working on a tomogram (complex visualziation, model definition, annotation, etc), you want to open it with dtmslice. To do so, the best way is to secondary click on the row of the tomogram and use the option of sending the tomogram into dtmslice. If you have created some binned versions, they will appear as available to be opened. Always use the prebinned tomograms if the original ones are too big!


