Difference between revisions of "Dynamo in Amazon EC2"
| Line 48: | Line 48: | ||
[[ File:AddStorageMain.png |thumb|center|500px|Selecting adequate storage]] | [[ File:AddStorageMain.png |thumb|center|500px|Selecting adequate storage]] | ||
| + | |||
| + | |||
| + | ==== Connection keys ==== | ||
| + | |||
| + | When you press on ''Launch'', you'll be asked to create a ''key'' file, or to use a previous one (from a previous Amazon EC2 session). This is merely a file <tt>.pem</tt> that you'' need to use in order to connect to your instance, or to transfer data to/from it. | ||
| + | |||
| + | [[ File:Ec2CreateKeys.png |thumb|center|700px|Generating or selecting a key file]] | ||
=== Launching an instance === | === Launching an instance === | ||
| Line 53: | Line 60: | ||
After launching the instance, a window will pop up with information for connecting to the virtual server through an <tt>ssh</tt> command. You will get the public DNS of the instance, and some instructions. | After launching the instance, a window will pop up with information for connecting to the virtual server through an <tt>ssh</tt> command. You will get the public DNS of the instance, and some instructions. | ||
| − | [[File:Ec2LaunchInstanceInformation.png |thumb|center| | + | [[File:Ec2LaunchInstanceInformation.png |thumb|center|700px|Information after launching of the instance]] |
However, the information is not totally correct, as the user name you need to use is <tt>ec2-user</tt>. This information can be consulted [[https://docs.aws.amazon.com/AWSEC2/latest/UserGuide/AccessingInstances.html?icmpid=docs_ec2_console in the documentation provided by Amazon]] | However, the information is not totally correct, as the user name you need to use is <tt>ec2-user</tt>. This information can be consulted [[https://docs.aws.amazon.com/AWSEC2/latest/UserGuide/AccessingInstances.html?icmpid=docs_ec2_console in the documentation provided by Amazon]] | ||
Revision as of 13:10, 21 September 2017
We are preparing a release of Dynamo for the EC2 cloud computing service. This will allow users without access to a graphic accelerator to use Dynamo on a powerful GPU in the cloud, paying only for the actually used computing time, and avoid the purchase, installation and maintenance of special hardware.
The Dynamo AMI itself can be used free of charge and needs no additional license. It delivers a tested installation of all needed software (Dynamo, CUDA, MCR libraries), ready for immediate use upon connection to your account.
Feel free to contact us if you want to be a beta tester.
Contents
Creating an account
We will post here a walkthrough for the creation of an user account in the Amazon EC2.
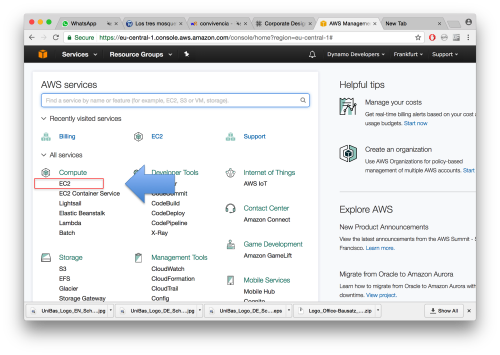
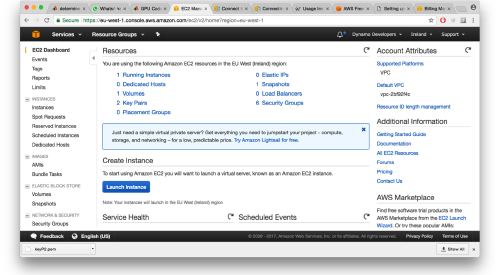
The EC2 dashboard is accessed through Services > EC2"
Configuring an instance
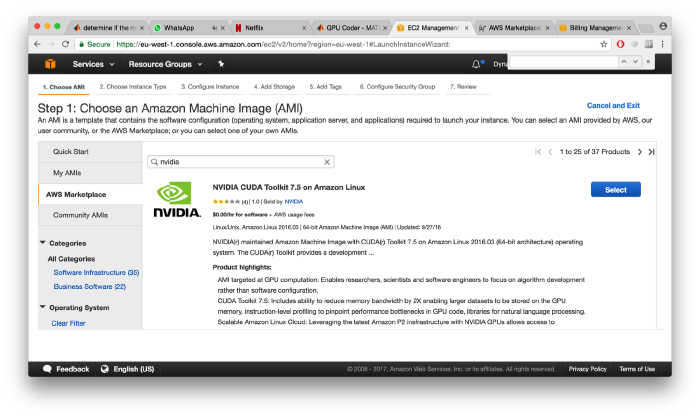
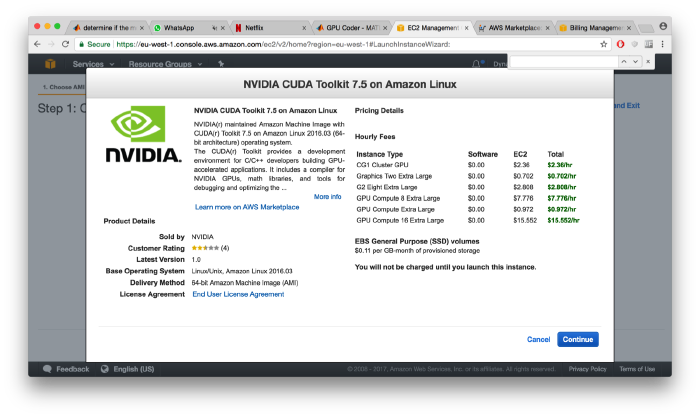
Your instance will be built on the top of an AMI of type CUDA7.5 provided by NIVIDA. You can find it in the Amazon Marketplace. The use of the AMI itself is free of charge: you will only have to pay to Amazon the time you keep the instance running.
After the selection, some additional information from Nvidia will pop up:
Instance type
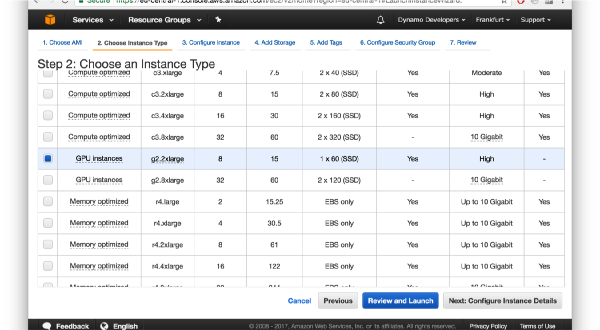
Make certain that you initiate an instance type that includes a GPU machine. Amzon describes [here] its different instance types... please make certain that you check the prizing scheme before launching the instance.
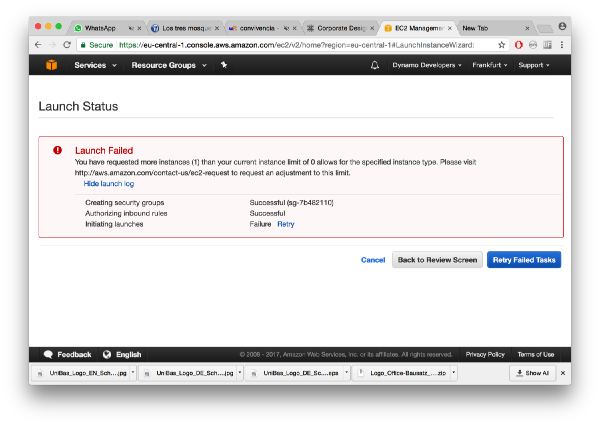
For some of the instance types you might need to contact Amazon: the default profile user usually cannot ask for a p2.large or an g2.large instance.
You'll probably need to apply for permission for launching them using your user support menu. This might take one or two days.
Also, take into account that not all areas provide all types of instances. You might need to change your geographic area in order to access GPU instances.
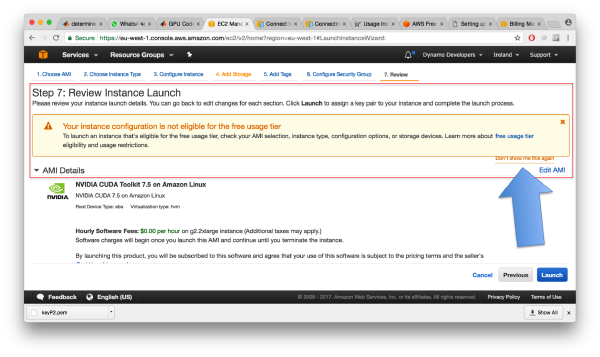
You will get an (alarming looking) warning. This is simply telling you that your GPU instance is not free of charge and that you will incur costs if you proceed with the launch of the instance. So, be aware of this and discard/ignore the message.
Storage
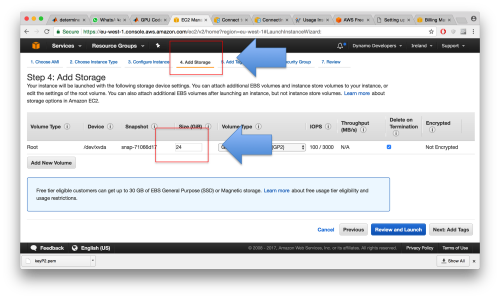
Make certain that your instance has at least 16Gb of storage capacity. The default of 8G is mainly consumed by the OS, and in the remaining size you will not be able to download and untar the Dynamo package.
Connection keys
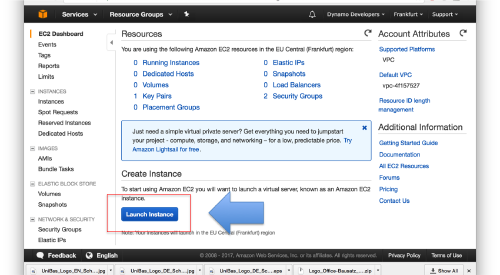
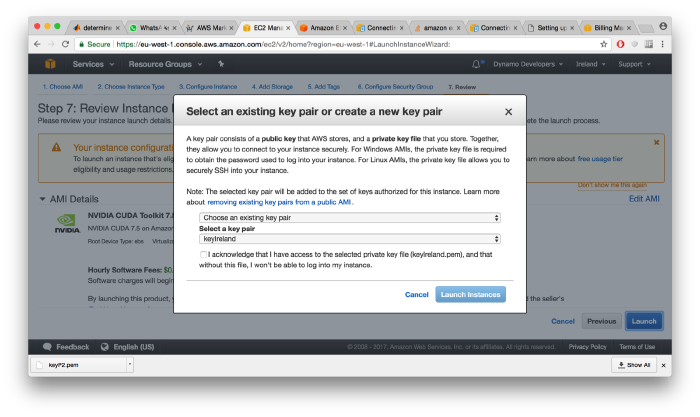
When you press on Launch, you'll be asked to create a key file, or to use a previous one (from a previous Amazon EC2 session). This is merely a file .pem that you need to use in order to connect to your instance, or to transfer data to/from it.
Launching an instance
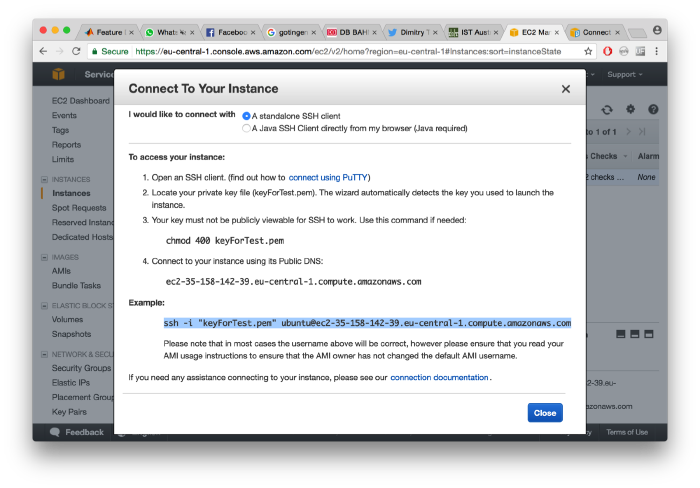
After launching the instance, a window will pop up with information for connecting to the virtual server through an ssh command. You will get the public DNS of the instance, and some instructions.
However, the information is not totally correct, as the user name you need to use is ec2-user. This information can be consulted [in the documentation provided by Amazon]
Connecting to the instance
Once your instance is running, you can connect to it through an ssh terminal. Typically, you need to include the key file generated in the moment of launching the instance. Remember that you 'need to ensurer that your key is not publicly viewable through chmod
chmod 400 myKey.pem
Then you can connect to your instance of the NVIDIA AMI
ssh -i "myKey.pem" ec2-user@<instance public DNS>
Here, the instance location should look something like ec2-52-214-203-126.eu-west-1.compute.amazonaws.com
After you connect to it, you can check that the nvidia driver is in place by typing
nvidia-smi
You can also find the CUDA libraries under /usr/local/cuda
Running Dynamo projects
Copying Dynamo
In your local machine:
scp -i "keyFile.pem" <your Dynamo tar> <your amazon instance>:/home/ubuntu/
Setting the terminal
Then, you can ssh to your EC2 terminal. There, you still need to operate a couple of adjustments:
mkdir dynamo
tar -xf <Dynamo tar file> -C /home/ubuntu/dynamo
You need to make an extra couple of adjustments on your terminal. The AMI provided by envidia needs to be able to talk to the Matlab libraries provided by your Dynamo tar.
sudo yum install -y libXt
Now you are ready to go. This terminal will be able to run Dynamo projects in the usual way. We suggest you to test the installation by opening the command line of Dynamo:
dynamo
and then creating a synthetic project
Dynamo > dtutorial mytest -p pgpu
Then we adapt it for running in the GPU
Dynamo > dvput pgpu dst standalone_gpu
After that, we execute from the command line of the terminal (outside of the Dynamo prompt Dynamo > )
./pgpu.exe
Graphic output
Note that further settings are needed: :
sudo yum install -y libGLU
sudo yum install -y libXrand
This will merely prepare your system to talk to the graphical libraries delivered by Dynamo. Still you need to prepare a X forwarding protocol between your local machine and your Amazon terminal
Killing the instance
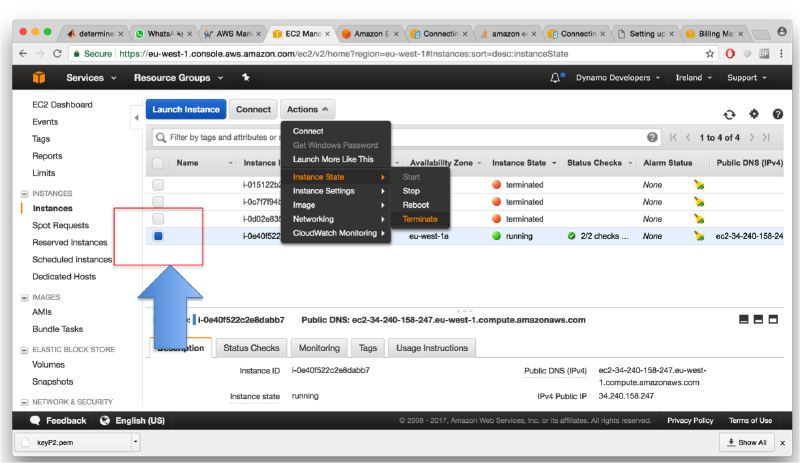
A running instance is consuming money. If you stop it, you will still pay for the storage of the data in the terminal. In order to totally kill the instance, including stored data, you need to terminate it.
