Difference between revisions of "Walkthrough basic multireference"
Jump to navigation
Jump to search
| Line 29: | Line 29: | ||
And we check the results: | And we check the results: | ||
{|style="margin: 0 auto;" | {|style="margin: 0 auto;" | ||
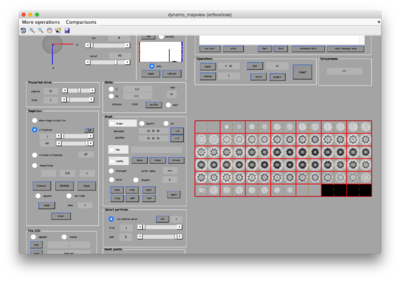
| − | | [[File:walkthroughMultireferenceSwapResults|thumb|upright|400px| Mapview shows two different averages.]] | + | | [[File:walkthroughMultireferenceSwapResults.png|thumb|upright|400px| Mapview shows two different averages.]] |
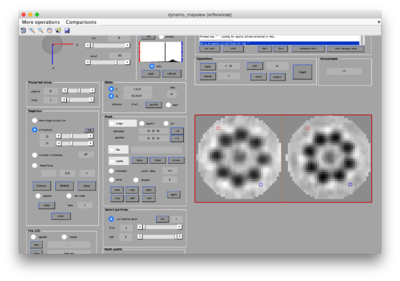
| − | | [[File:walkthroughMultireferenceSwapResultsZoom|thumb|upright|400px| Zoom. Clicking [C] on a slice centers mapview on it ]] | + | | [[File:walkthroughMultireferenceSwapResultsZoom.png|thumb|upright|400px| Zoom. Clicking [C] on a slice centers mapview on it ]] |
|} | |} | ||
Latest revision as of 12:06, 16 August 2016
We first create a tutorial data set.
dtutorial ttest -M 8 -N 8 -p pmulti -multi 1 -tight 1
The flags -M 8 -N 8 mean that we want to create a synthetic data set with 8 particles on one class, and 8 particles from a different class.
Then we can just execute it. It will take some minutes.
pmulti
And then we take a look onto the results.
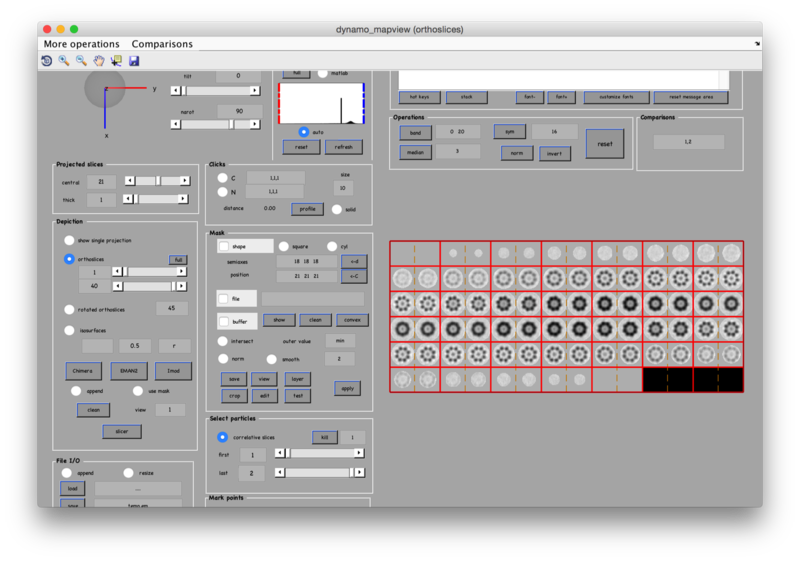
ddb pmulti:a:ref=* -m
(you can get this plot through the dc GUI). Apparently nothing happened. Why? The reason is that what we just ran was a multireference project without particle swapping, i.ie., the particles where aligned separately and were never allowed to "see" each other. So, we tray again, but now we connect the swapping:
dcp pmulti
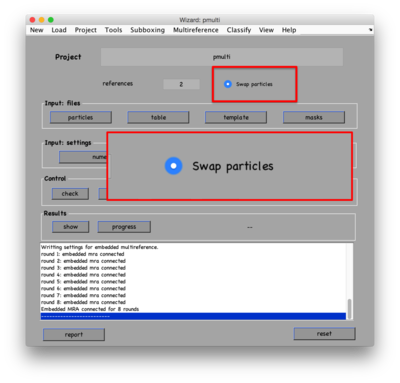
We check on the Swap particles radiobutton,
and run the project again: check,unfold and run.
And we check the results:


