Difference between revisions of "Walkthrough model worfklow reuse"
| Line 52: | Line 52: | ||
| [[File:modelReuseFilament3.png|thumb|upright|400px| ]] | | [[File:modelReuseFilament3.png|thumb|upright|400px| ]] | ||
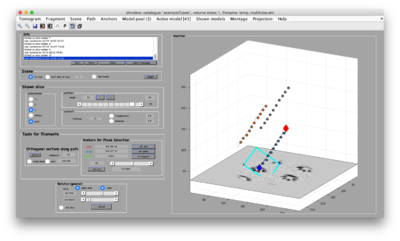
| [[File:modelReuseFilament3Points.png|thumb|upright|400px|three filament models ]] | | [[File:modelReuseFilament3Points.png|thumb|upright|400px|three filament models ]] | ||
| + | |} | ||
| + | |||
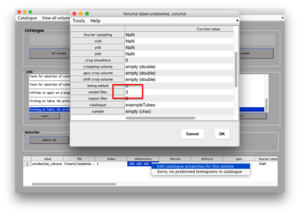
| + | Now, the catalogue should see three models inside this tomogram entry. | ||
| + | [[File:modelReuseCatalogue.png|thumb|center|300px|XXX]] | ||
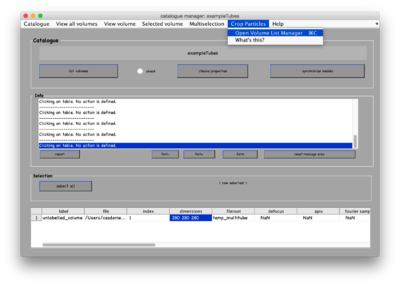
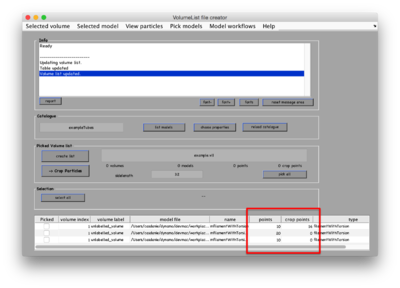
| + | If we open the tomogram with the volume list manager, we will get a list of those models. We should see that the first we created does contain some crop points, but the other two don't. | ||
| + | {|style="margin: 0 auto;" | ||
| + | | [[File:modelReuseVolumeListOpen.png|thumb|upright|400px| ]] | ||
| + | | [[File:modelReuseVolumeListFirstStatus.png|thumb|upright|400px|three filament models ]] | ||
|} | |} | ||
Revision as of 05:49, 17 August 2016
This walkthrough shows how to reuse the geometric computations performed on a single model onto a larger set of models.
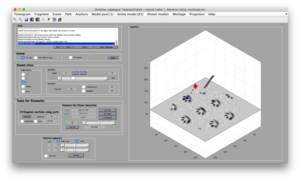
We can use a synthetic tomogram containing different tubular structures. In this catalogue, we open the tomogram with dtmslice, and then define a filament model following the usual procedure, so that we end up with a single model containing a set on points.
We will now define a workflow, i.e., a method of converting points into crop_points.
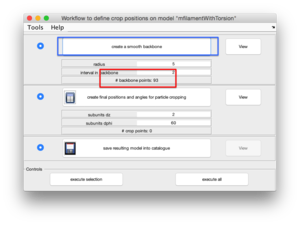
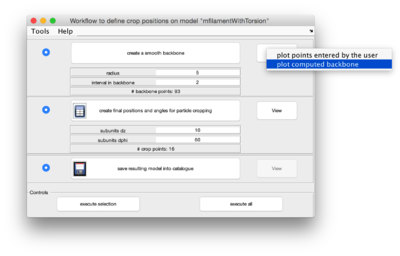
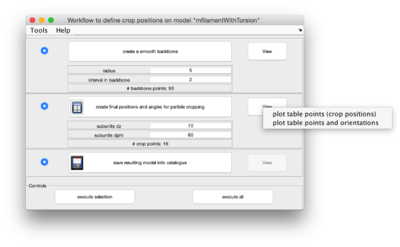
We open the workflow editor of the active model, and start operating the steps, checking graphically the result of each parameter selection. We create first a backbone, selecting the interval between backbone elements.
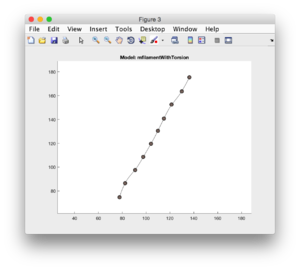
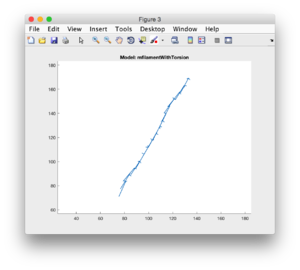
And check how the results looks like:
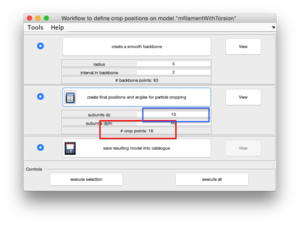
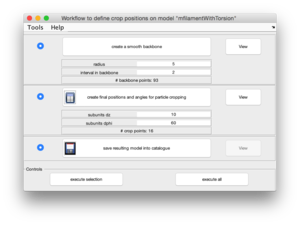
We then proceed for the next step: selection of the interval (in pixels) between two consecutive crop points.
And check again the results:
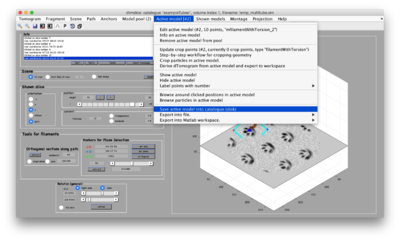
... not forgetting to save the model into the catalogue. The model will contain the generated crop_points and also the parameter values used to generate them.
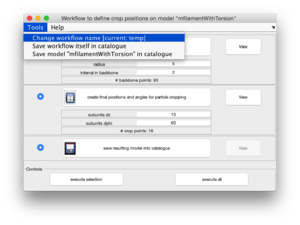
Now can save the workflow itself, probably providing first a different name than the default.
.
Once the workflow defined on the first model is defined we can move to a different filament and pick its extremal points with controls [1] and [2]:
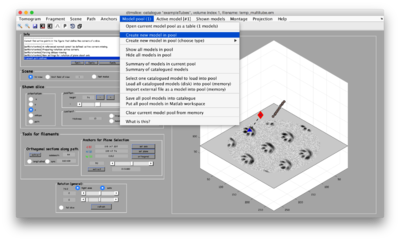
and then define a new filament model, and click on their points. But in this case, afterwards we save the model without further edition
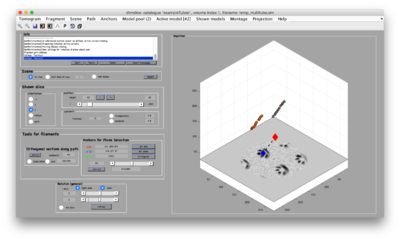
and move to the generation of a further filament model
Now, the catalogue should see three models inside this tomogram entry.
If we open the tomogram with the volume list manager, we will get a list of those models. We should see that the first we created does contain some crop points, but the other two don't.
